Spaghetti wiring.
The Wenga Postie Bike Project -> The rebuild -> Electrical
Here's all the details of the rebuilding work on the electrical systems. There's not much to add other than some pictures.
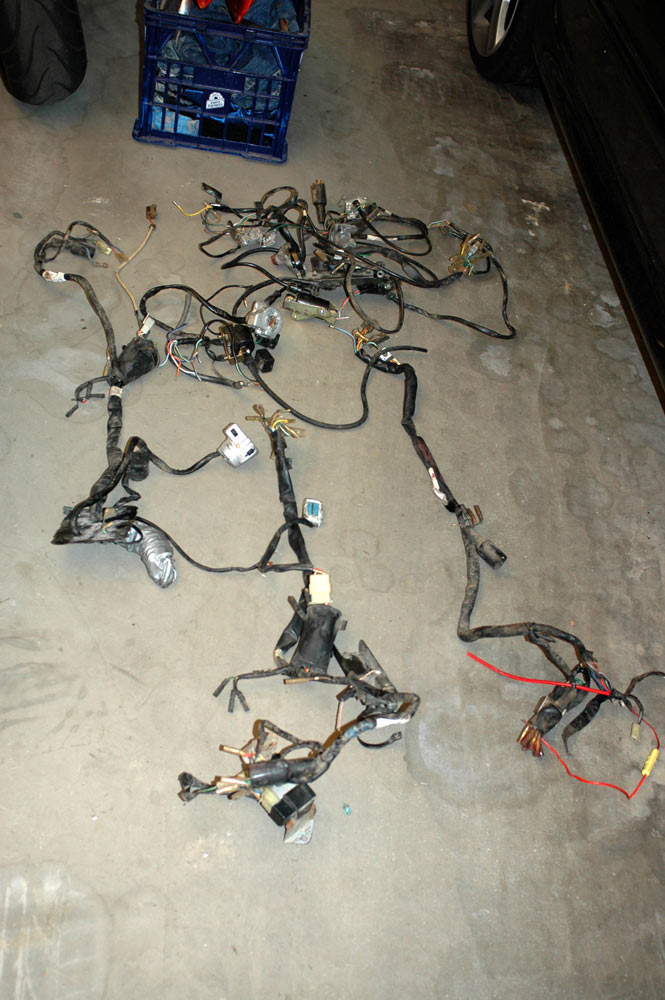
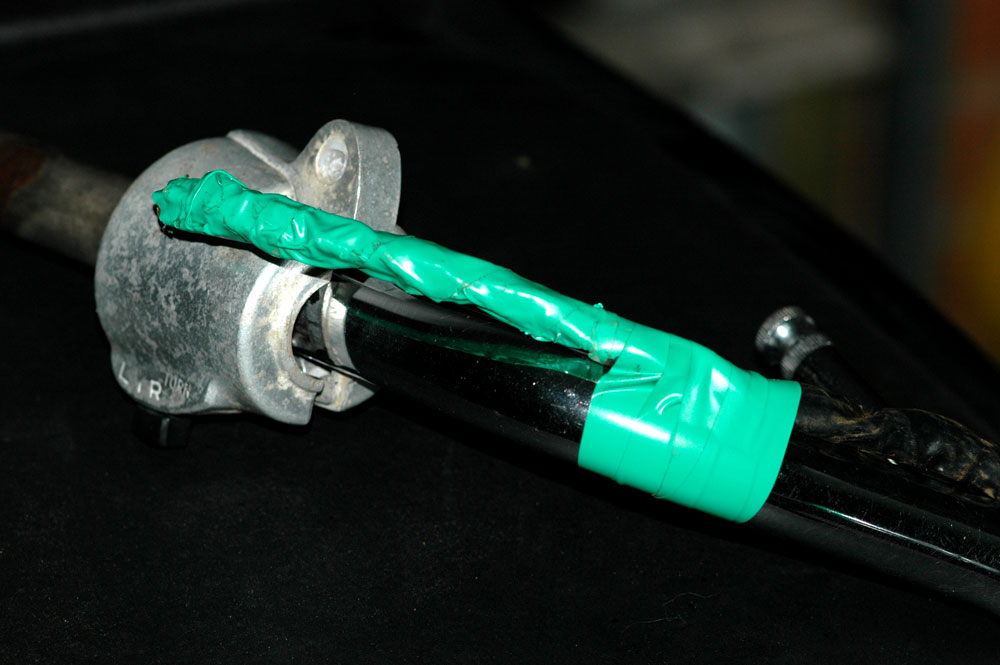
Unfortunately, the perils of buying a box of parts is that you will have some wiring spaghetti to sort out.
Spaghetti wiring.
There's around three wiring looms here. The two leftmost ones laid out are 6V looms, and the one on the right is a 12V loom (functionally, they are almost identical). I only have 6V stators and CDI setups, so I'll be building a classic 6V bike. Not pictured so far is also the fact I discovered there are differences in the coils for CDI and points-based bikes, with CDI bikes having a significantly larger coil.
All of the 6V regulator-rectifiers were pretty corroded on the outside, but it shouldn't affect their performance.
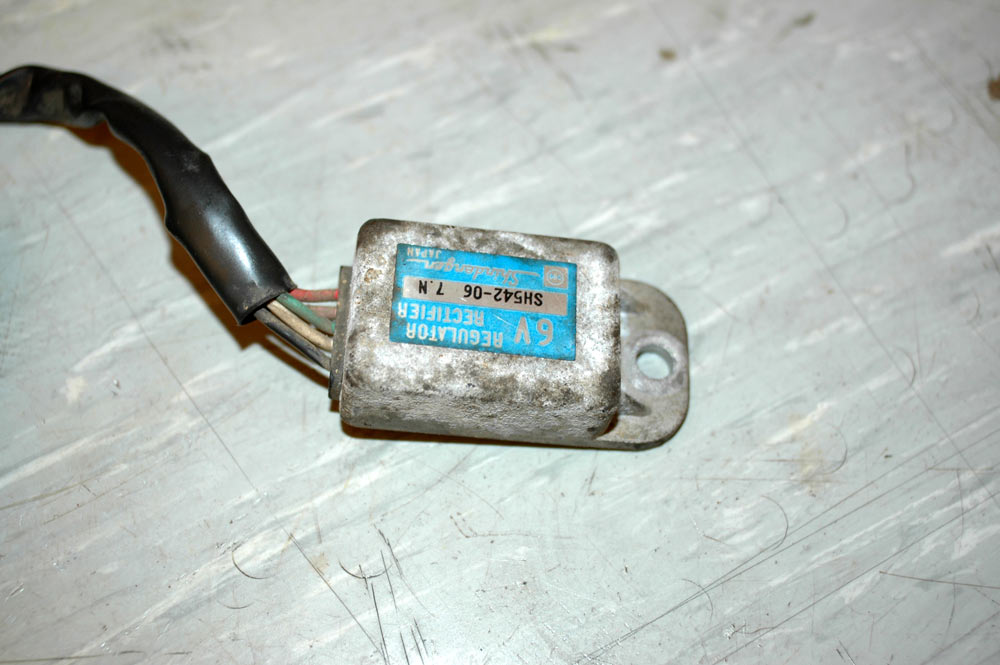
6V reg-rect, outer case corroded.
Nothing that a brass wheel on a hand-held rotary tool can't fix.
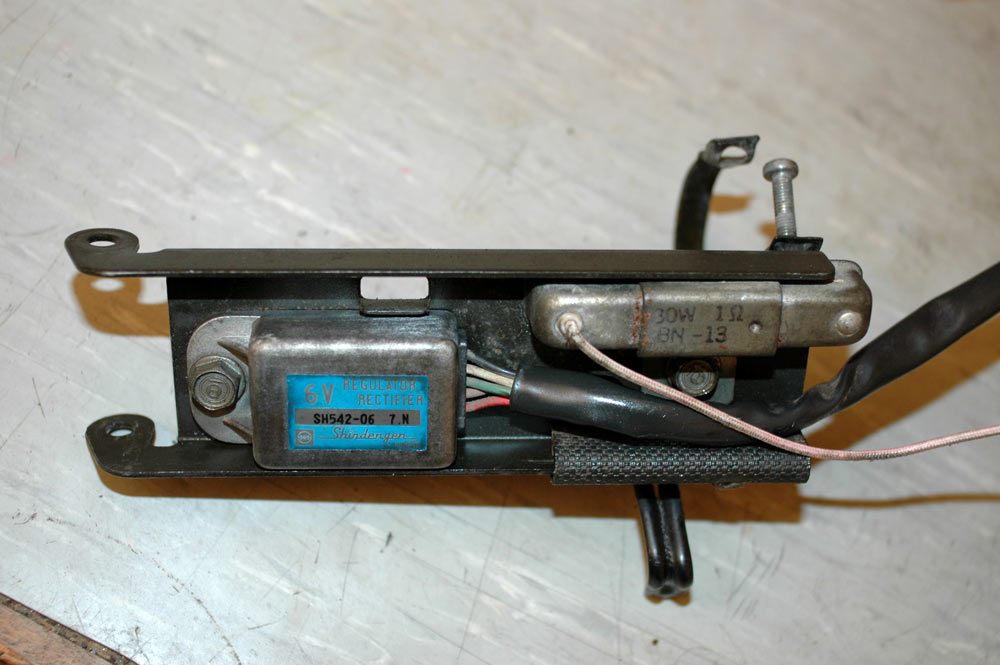
Reg-rect cleaned up and mounted along side the ballast resistor.
That mount sits up near the front of the bike. The bolt holes (LHS of mount in picture) attach to the rearmost of the bolts that the bash plate mounts to, and the clamp (with screw) at RHS of mount in picture attaches to the frame tube. It gets hidden under the frame cover plastic stuff, but I thought I'd clean it up anyway.
I also cleaned up a rear light mount and put it on the back of the bike.
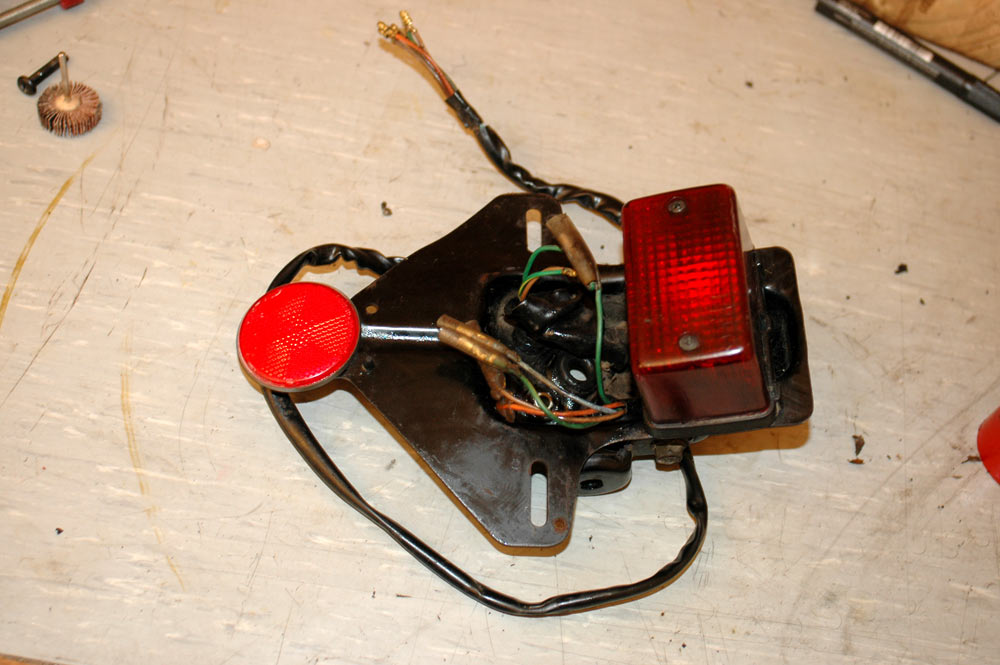
Rear light assembly.
These rear light assembles are a bit of a bastard to attach, with four bolts going through them and into the rear mudguard. There is not much room under the guard to get your hand in to hold the nuts to tighten them, but it is doable.
I wanted to run chrome handlebars but the only bars I had (old CT90 bars) had absolutely no switchgear. This meant I had to do a bit of threading of the wiring for the switchgear through the bars.
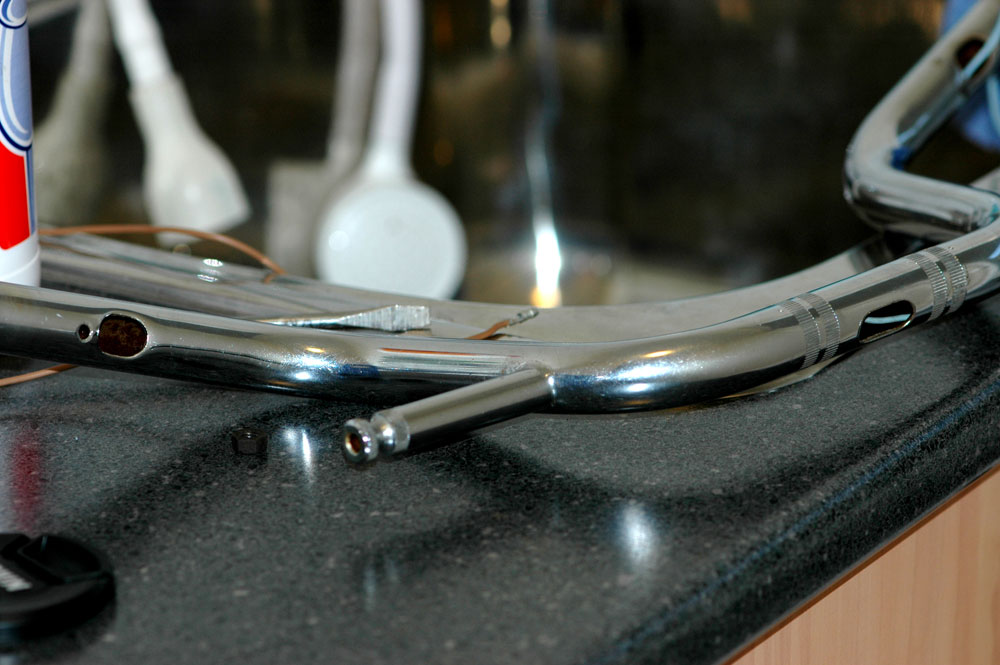
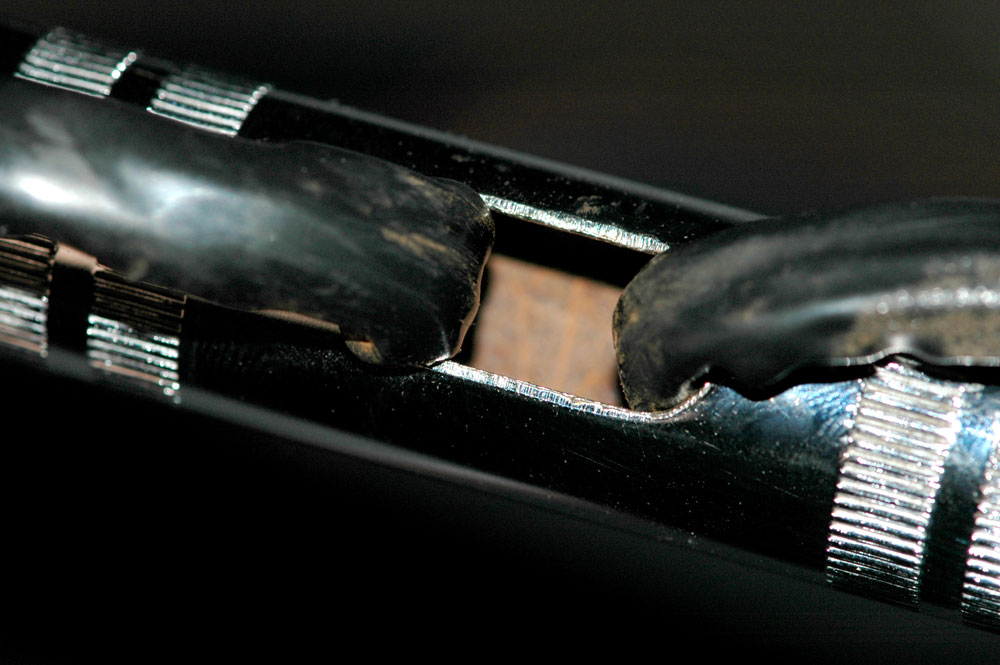
The holes for the wiring are obvious on these bars.
If you look closely at the pic above you'll see a wire inside the hole at the central part of the bar. This is deliberate - I make sure things work before I take photos :). I don't want to advertise all of my failures.
The easiest way to do this is to take a reasonably long wire with a male bullet terminal on one end, and carefully feed it through the bars. Use the bullet terminal end to go through the bar - the touch of extra mass helsp to navigate the corners (assuming you hold it so the bullet terminal will be 'falling' down the bars).
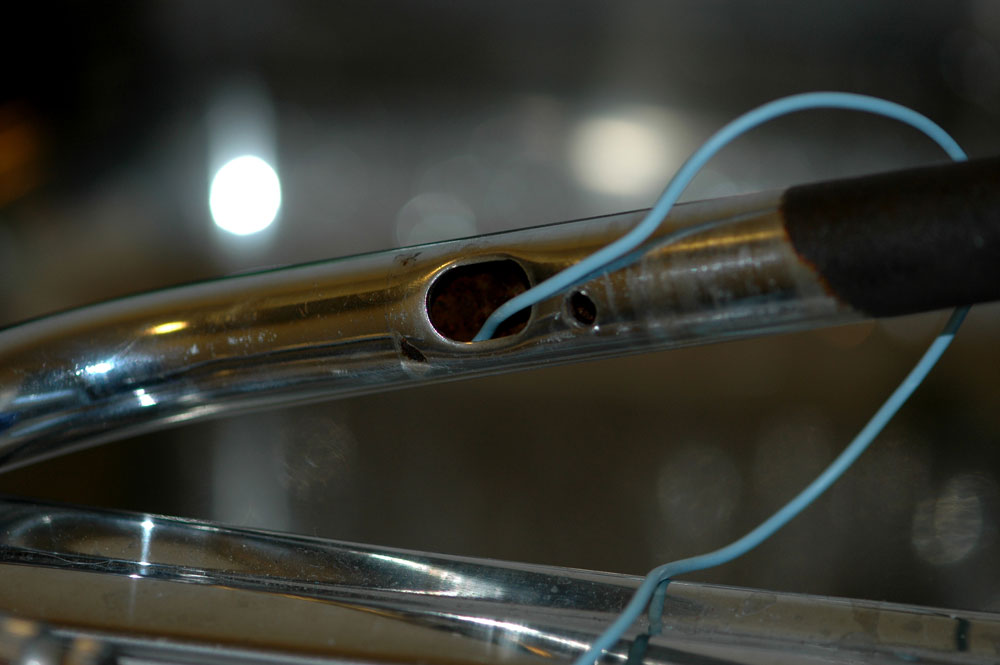
Here's the wire in the bar, on the switchgear side.
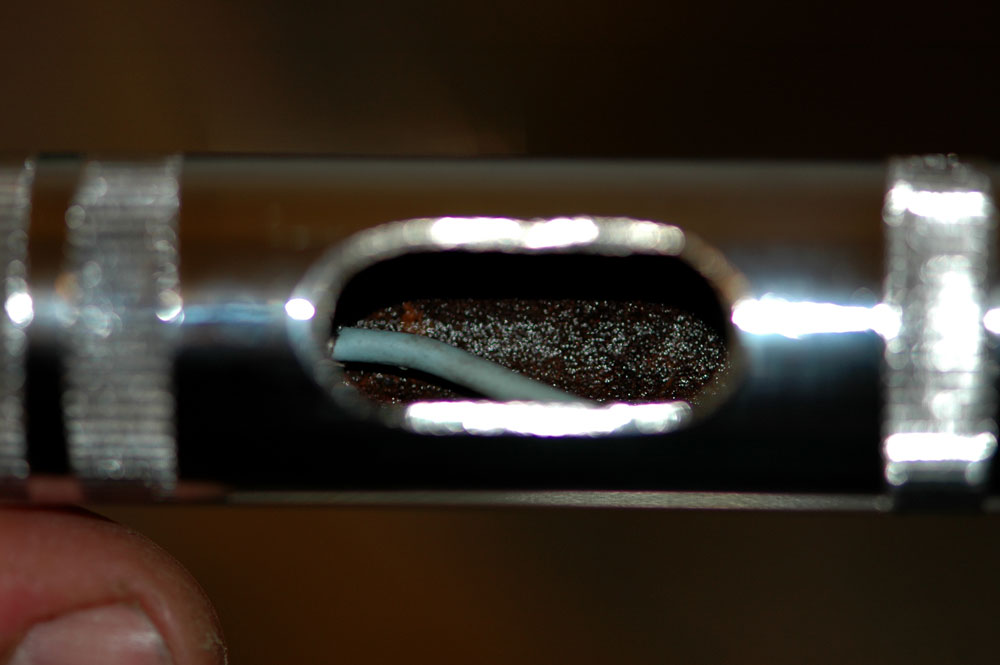
Here's the wire in the bar, at the central hole.
It helps at this point if you pull the wire end out of the central hole.
With the wire through, you now have something you can attach the wiring end of the switchgear and pull it through. How you do this is a bit arbitrary, but I found (with a few attempts) that it helped having it tied to maybe half of the wires for the right-hand (engine stop and headlight on/off switch) side and the rest floating free. For the left-hand (indicators, high/low beam, horn) side I taped up all of the wires and then taped the pulling wire to the end.
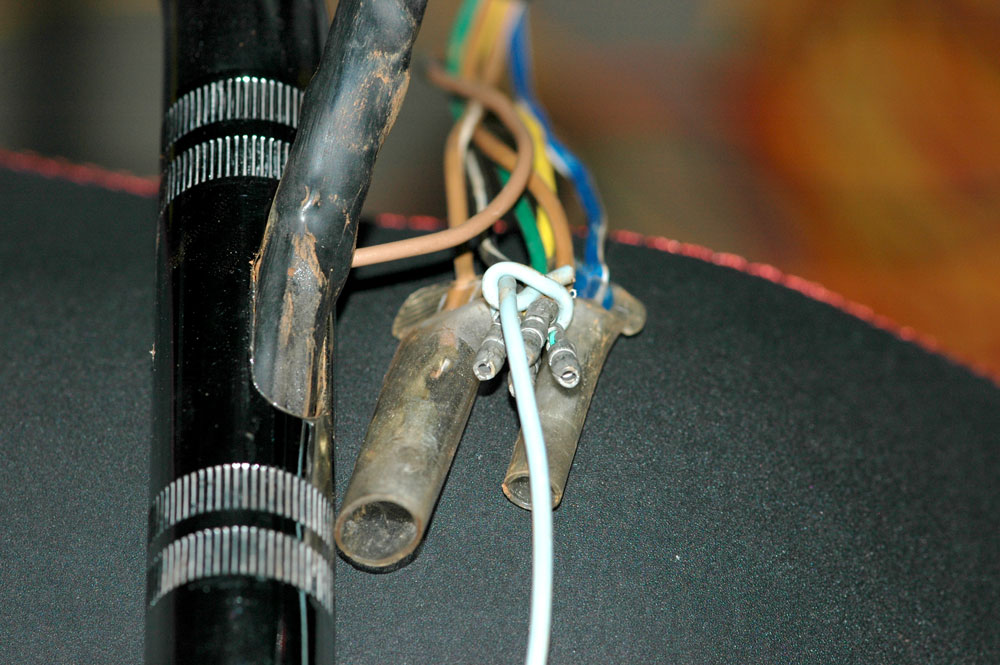
The wire tied around half of the right-hand switchgear wires.
Note the terminals with lots of insulation aren't tied in. If they were, they'd all bind up in the corners. It takes a bit of effort but you can get it through.
The taped end of the left-hand switchgear wires.
I taped the end of the pulling wire in with them, then undid the tape once I pulled it through. End is taped to the bar so it's out of my way when I put controls on the bars.
You have to do a bit of pulling (with the wire) and a bit of pushing (on the switchgear) wiring loom to get it through. Once you do, it's all sweet!
The wires for the switchgear pulled through the central hole in the handlebars.
The wires for the switchgear link up with front half of the wiring loom in the headlight bucket.
When it comes to the headlight, the problem with buying lots of old parts is that they're all dirty. Reflectors need to be clean. Fortunately, most of the dirt is just that, i.e. dirt, which means you can start by washing it off. Once it's all clean, you can then do some metal polishing to get them back to new.
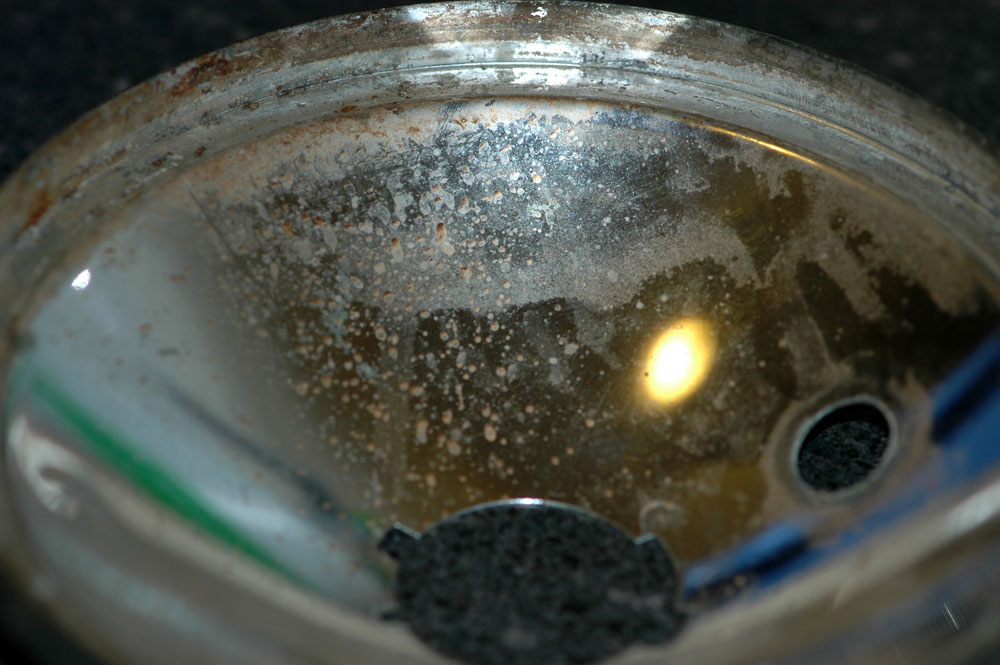
Dirty headlight reflector.
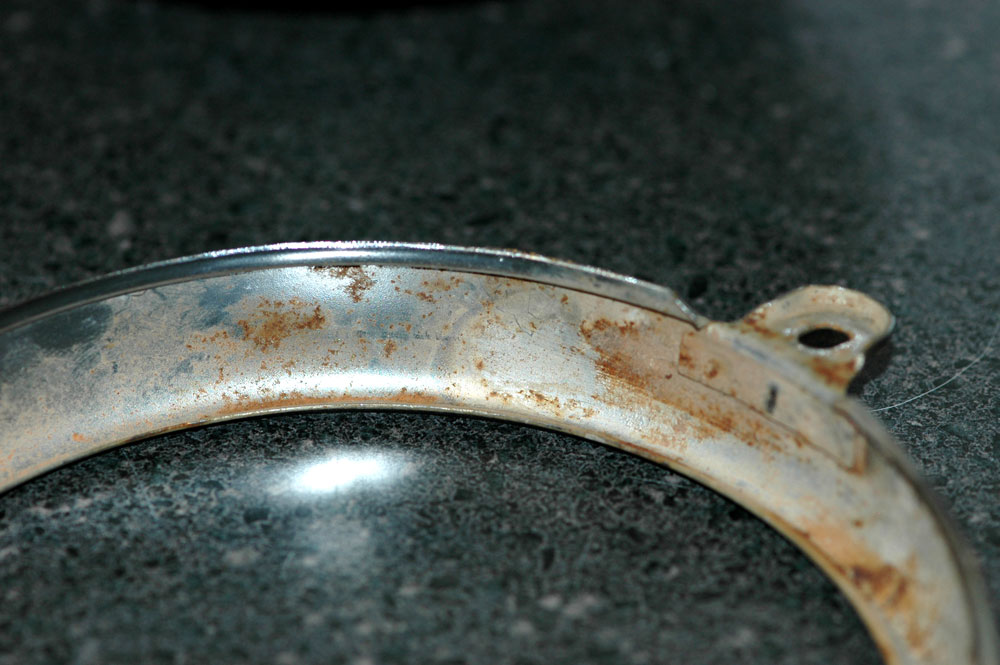
Dirty headlight surround.
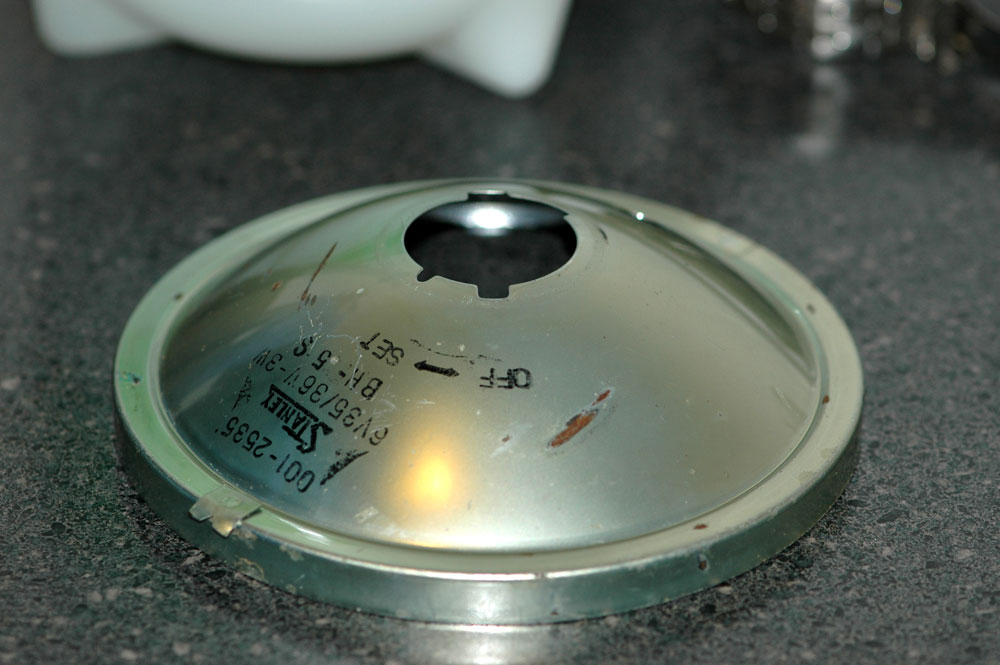
Clean headlight reflector back - looks almost factory except for some of the wear marks. This is from a 25 year old CT110.
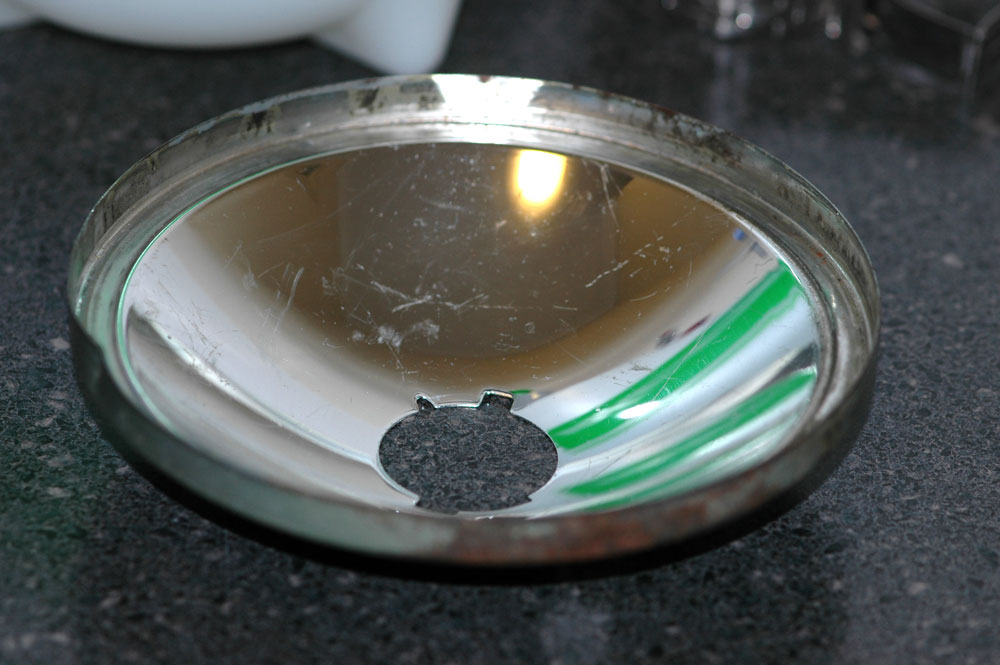
The inside is pretty good although scratched from some other parts. Still needs a polish.
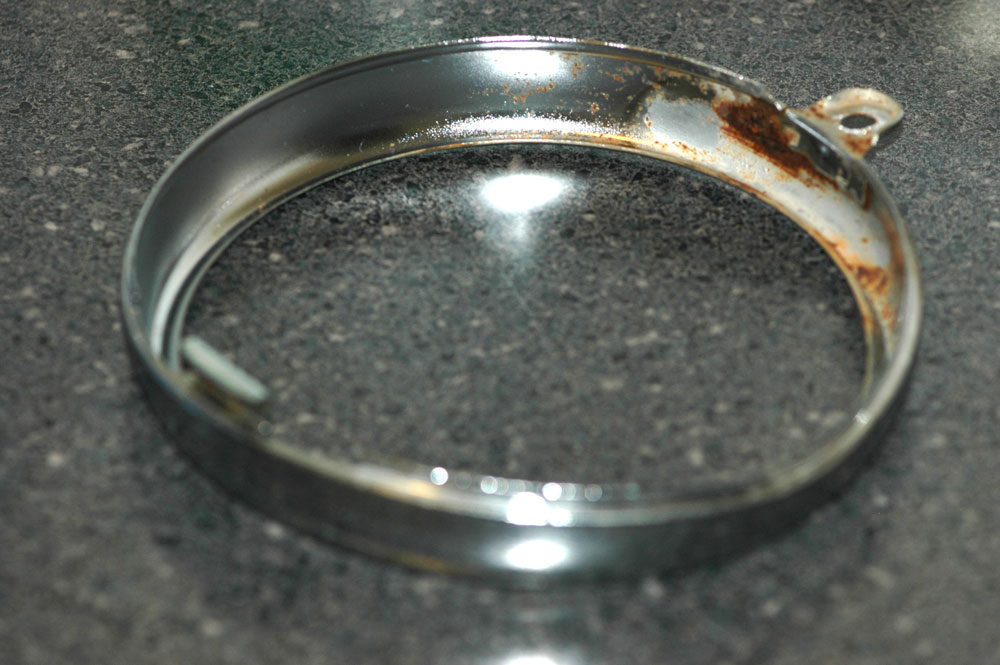
Clean inside of the headlight surroung. You can still see some of the rust, but it's a lot better.