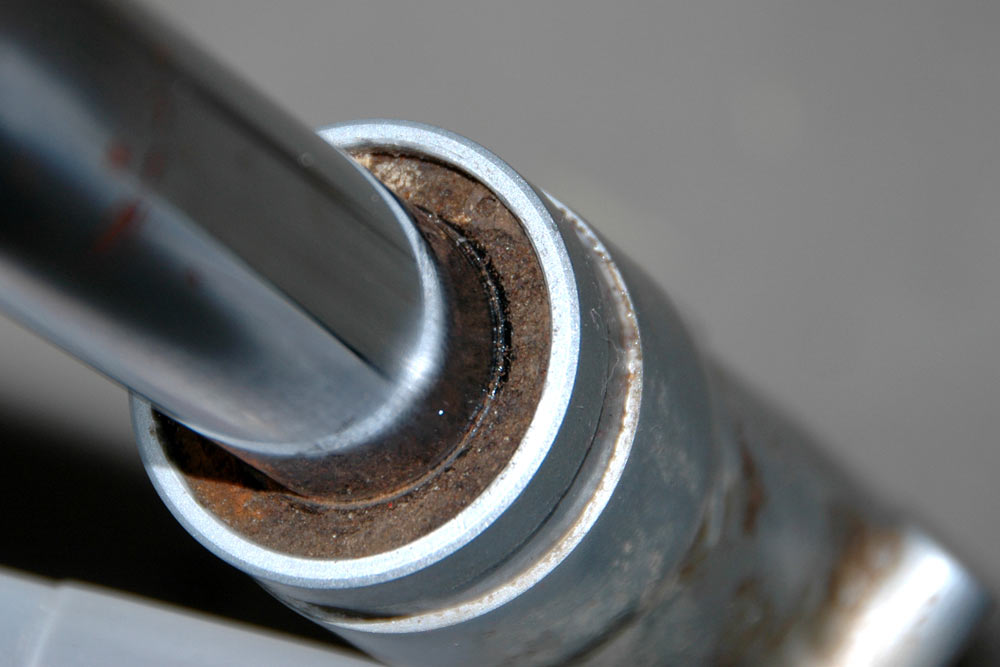
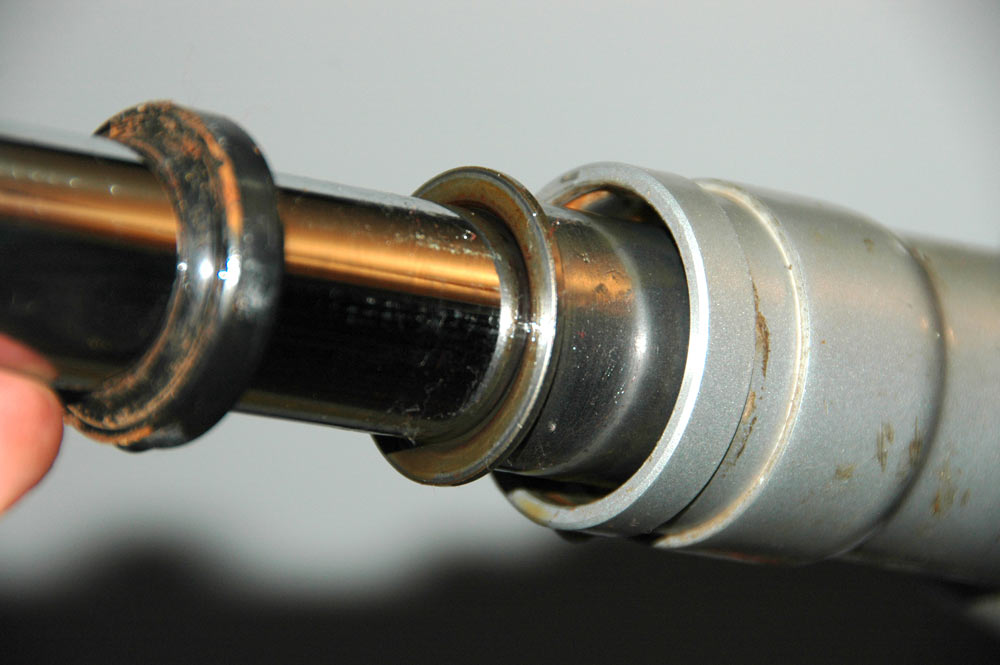
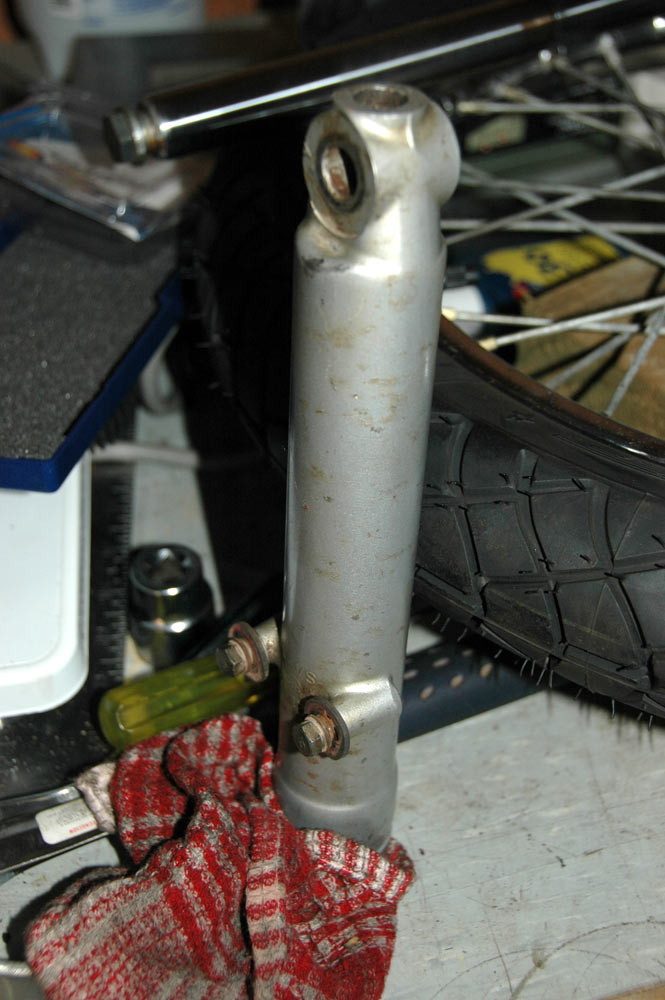
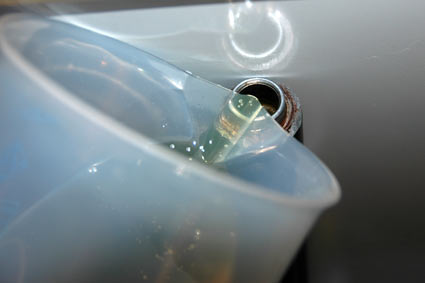
You can just make out the circlip ring here, kinda in the top-right part of the fork leg. It's obvious once you see it.
The Wenga Postie Bike Project -> The rebuild -> Front suspension
Here's how I tackled the front suspension rebuild.
Firstly, I have no pictures of the dismantling. Sorry, but it's not hard. I got it to the point where I had a couple of forks in my hands. The procedure to do most of this is pretty simple:
Now we get into the bit where we need to pull out the fork seal. There is a circlip which retains it - undo this with a trusty pair of circlip pliers. Warning - they can be pretty tight so you want good circlip pliers. I have crap ones and it was very hard to get it out.
You can just make out the circlip ring here, kinda in the top-right part of the fork leg. It's obvious once you see it.
The trick I found is to get the ends of the circlip pulled together, then flick one side up with a small flat-bladed screwdriver.
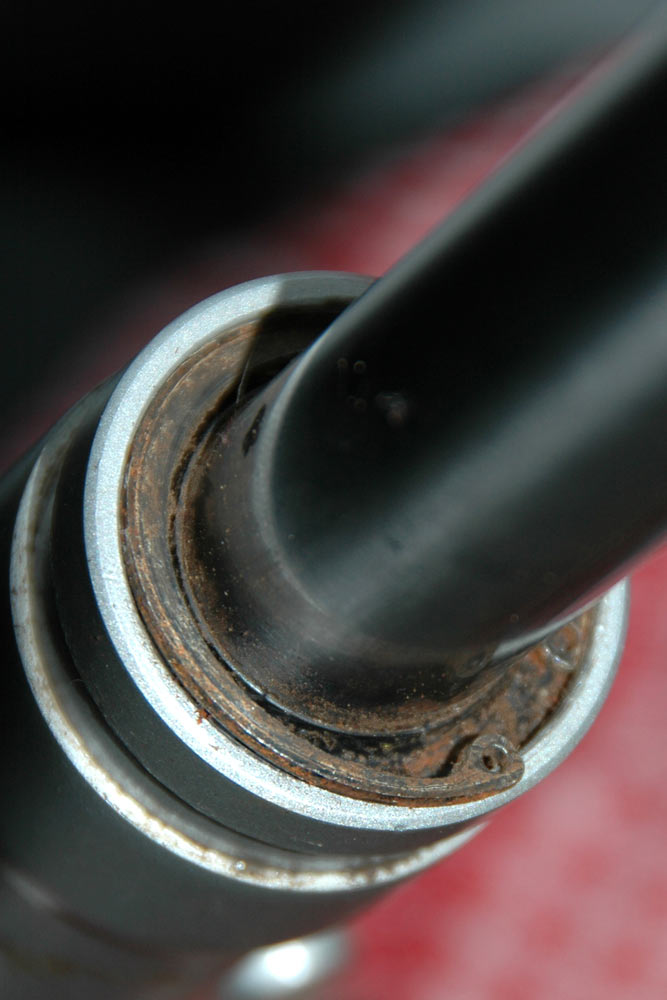
Here's where I just had flicked the end of the circlip out. It requires about four hands - one to hold the fork, one to hold the screwdriver to flick the circlip, one to hold the circlip pliers into the little hole, and one to manipulate the circlip pliers.
Once you've popped the circlip out, it's time to, for want of a better word, wank the fork rod up and down. This pulls the seal out.
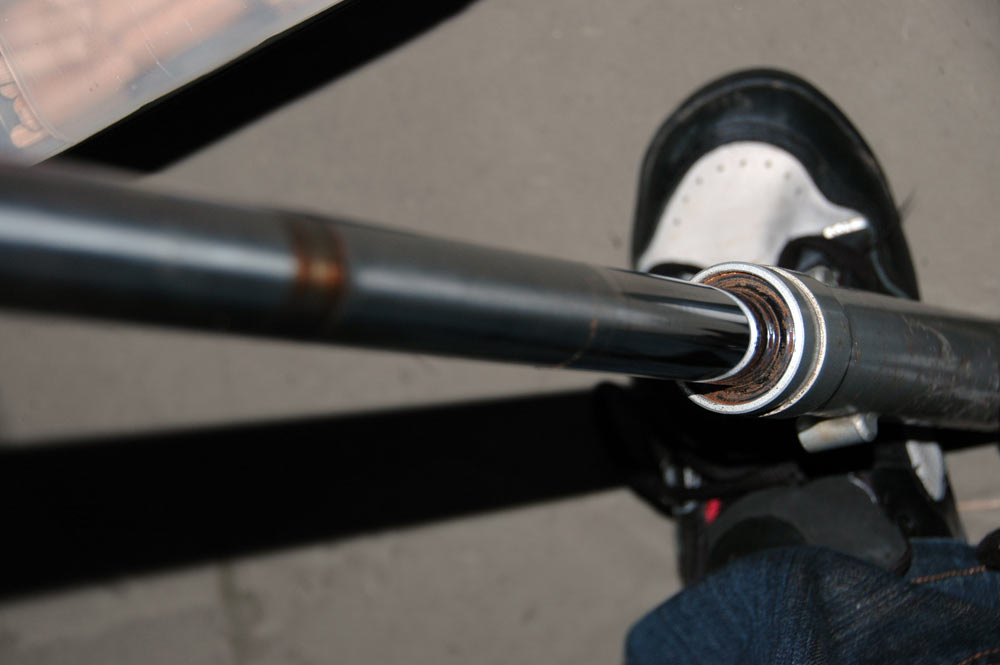
Pulling the fork rod up, for the first time. You can see the inner part of the seal just starting to deflect here. Seal has not moved from its initial position.
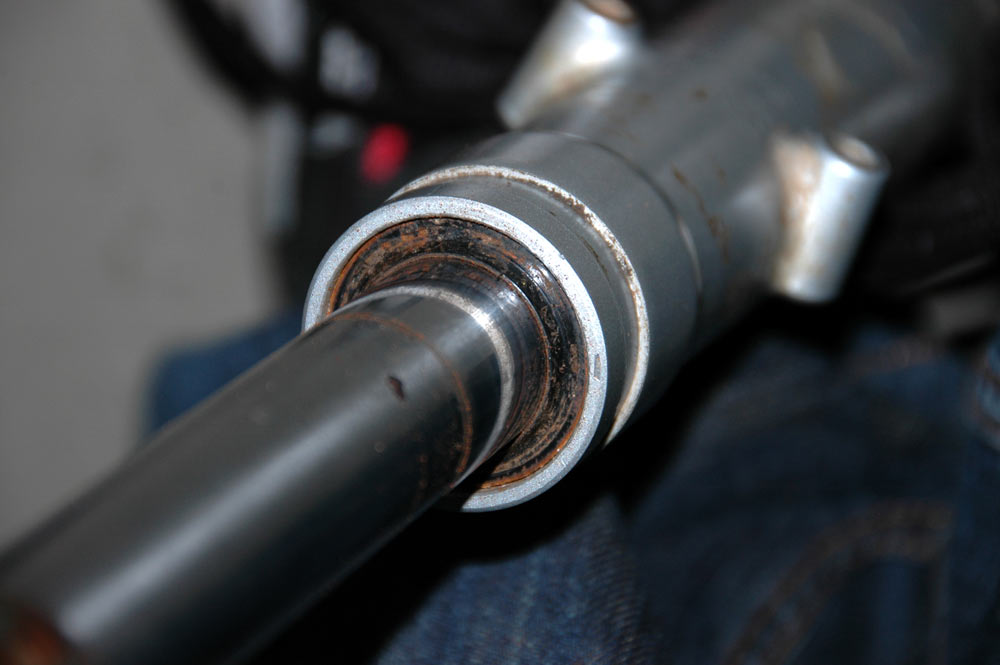
Fork seal almost out. This is again on an up-stroke, and you can see the seal being deflected.
Fork seal out. You can see one of the moving parts of the rod here too.
Here's it more fully apart.
Once you've got that out, you can admire the simplicity of the CT110 front fork rod.
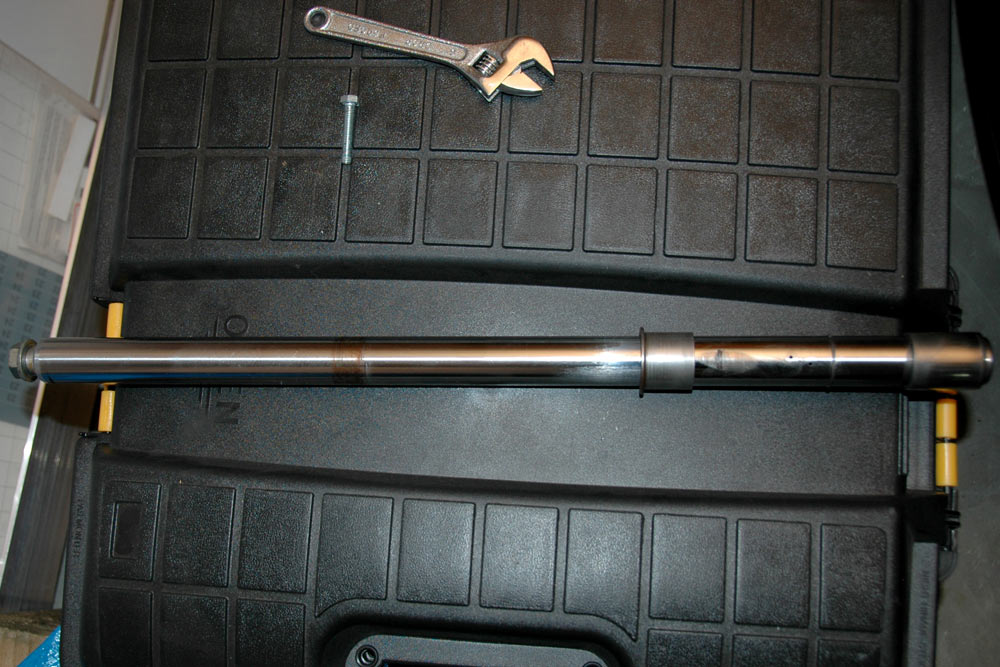
Here's the front fork rod sitting out of the fork leg.
You can also look at the detail such as the little holes that oil is squeezed through to create the damping action.

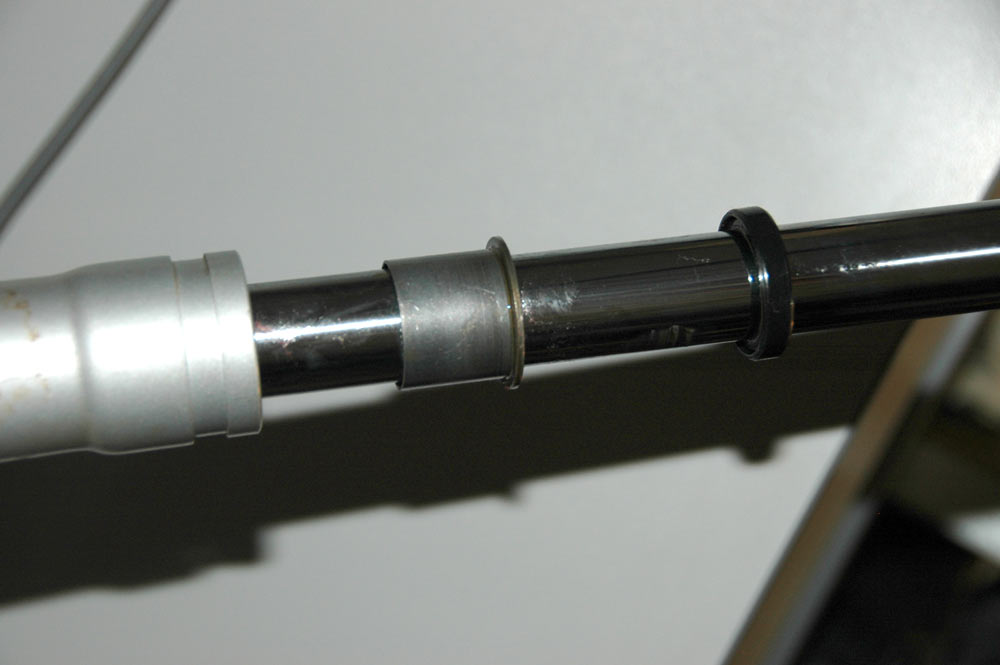
Note the two rods. There is also a circlip below them which holds the top moving part from going too far down; the bottom moving part is also held from going too far down by another circlip. Remove these to properly overhaul the fork rod.
You'll also want to clean out the bottom of the fork, aka the fork leg. At least that's what I call it. Stuff a rag in and wipe it all about. Perhaps swish a bit of fresh fork oil around in it.
Cleaning out the bottom of the fork.
You can also leave it upside down on the bench while you have dinner to drain a bit more of the oil out.
Draining out the fork bottom. Note the fork rod sitting in the background.
Once you've done that, you can admire your handiwork. Here you can see the top of the bottom of the fork, noting the circlip indentation.
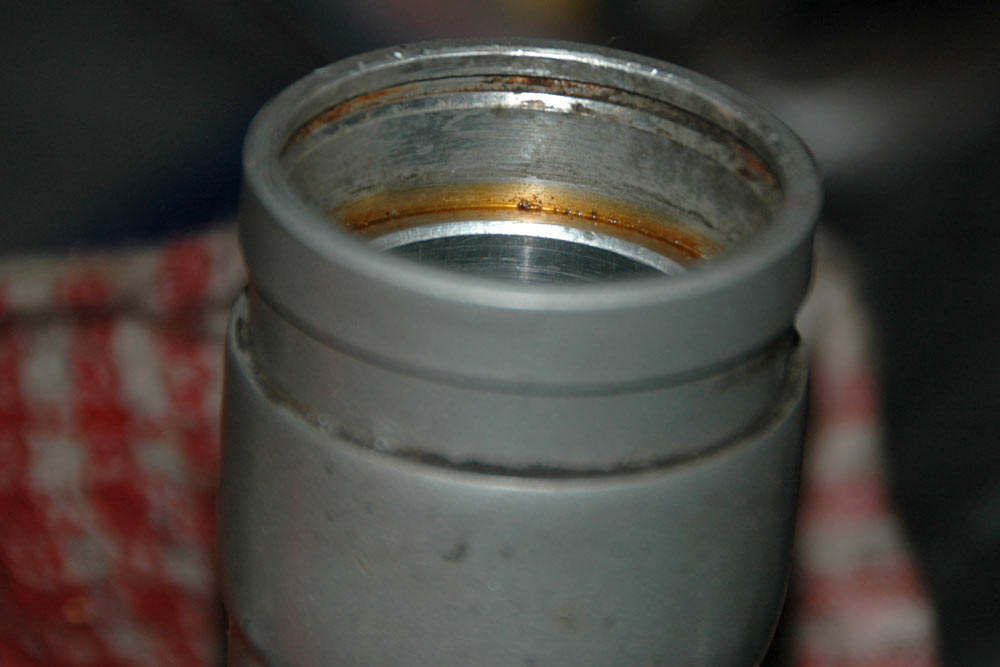
Here's the top of the bottom of the fork. The indentation is where the circlip goes which retains the seal.
What you do now is put the fork seal onto the fork rod, with a touch of oil on the base of the fork rod, and slip it all back into the fork bottom.
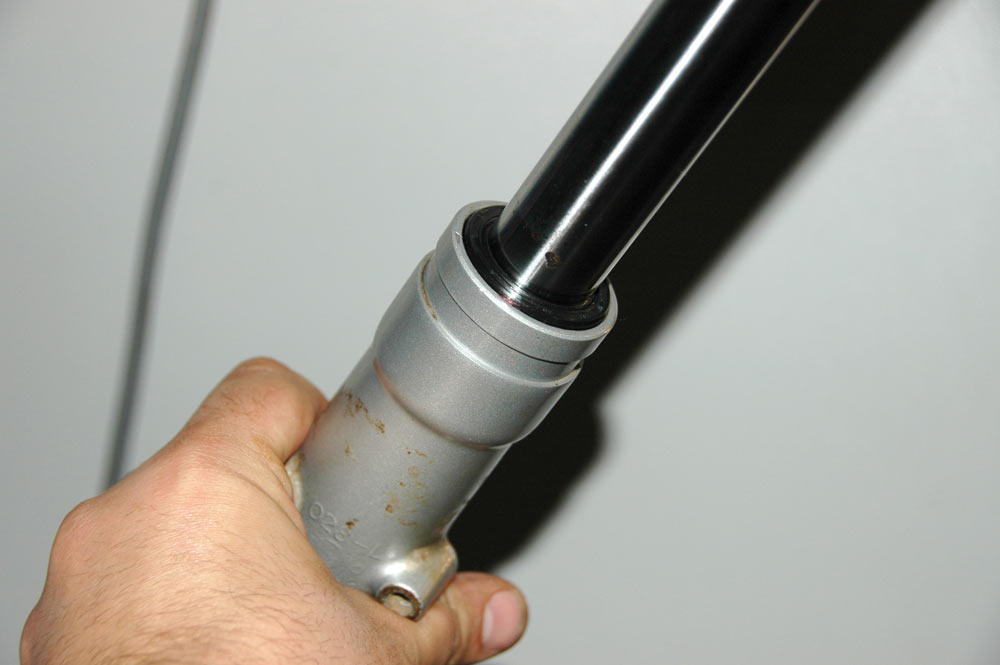
Seal just having made contact with the fork bottom.
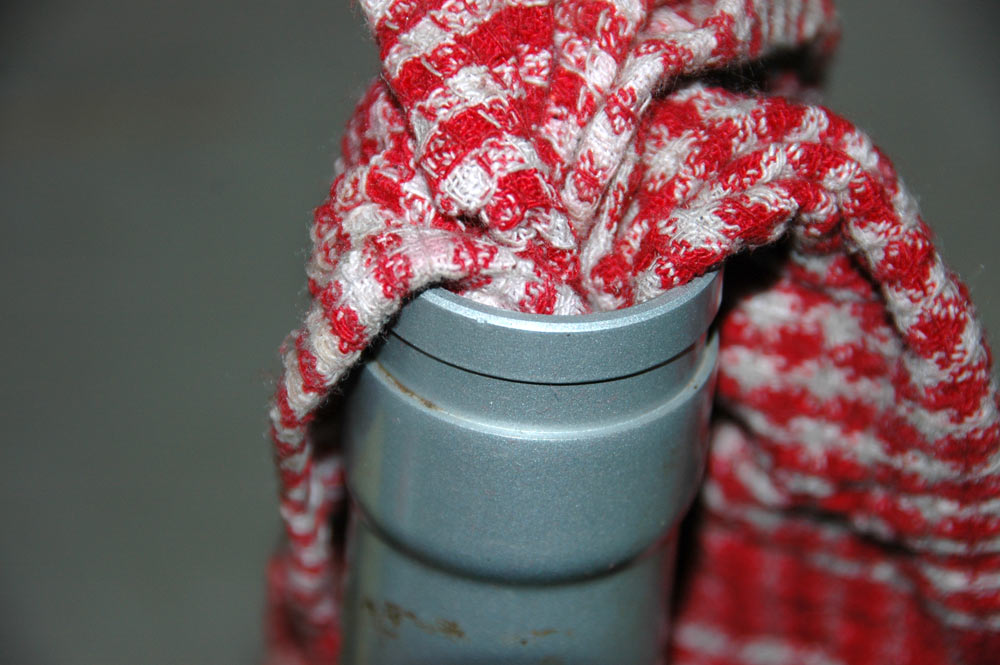
You'll need some form of tool to slip over the fork rod and push that seal down so that the top of it is below the bottom of the indentation where the circlip goes. When in doubt, improvise. This is a door stopper which I cut the end off. It is strong enough to push the seal in when hit with a hammer but soft enough it doesn't mark the seal.

Ghetto seal tool. It works!
You'll need to measure out the right amount of fork oil. Every workshop manual I've seen say that it needs 135 mL of fork oil. The type of oil differs. One manual says automatic transmission fluid (~7.5 weight fork oil). Another says 7.5 weight oil. Yet another says 10 weight, and a final one says 15 weight. I'm a heavy bastard, so I'll stick 15 weight oil in.
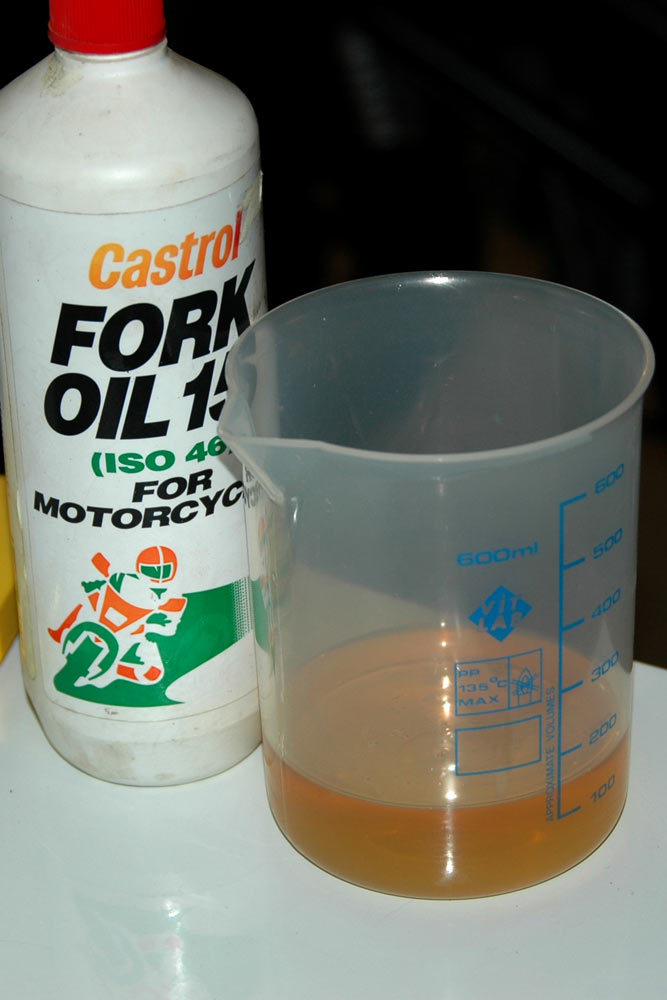
Measuring out the fork oil. I had already calibrated the plastic container for 135 mL. Probably be better if I used a decent beaker or something, but oh well.
You'll then need to pour this fork oil into the top of your fork. A few hints here. Firstly, make sure the fork is at full extension - this gives you the most volume. Secondly, only put in a small bit at a time, then slowly work the rod up and down to move it through the damping valves. Finally, keep checking to make sure you don't overflow the fork. You shouldn't, even with 135 mL, but if you don't pump it enough you might.
Putting the fork oil in.
You can now put the caps on the top of the forks and refit them to the triple clamp. I did this once I'd rebuild the head stem so it had nice bearings and all in.
Sitting the frame upright, the easiest way to do this is to start by pushing the tops of the forks through the bottom clamp from the triple-clamp.

Front forks fitted into the bottom clamp from the triple clamp. Pinch bolts are done up finger tight so the forks don't want to slip back down.
Now you pull up the fork tubes as far as you can, remembering you are working against the springs which will have now contacted the bottom of the triple clamp (which is where they act from). Remove the top bolts from the forks, slip the headlight mounting tubes over the fork tubes, put on the protective caps, and then drop the top triple clamp on the top of the forks and the headstem.
Here's the trick. To pull the forks up, if you can't pull them up close by hand, use a long bolt of an appropriate diameter and thread - make it the same as the bolts that go into the top of the forks. If you can pull them up by hand, just do up the top bolts through the top triple clamp mount and you'll be fine. Once the forks are in the right position, tighten up the pinch bolts on the bottom triple-clamp, then do up the big nut that connects to the top of the headstem.
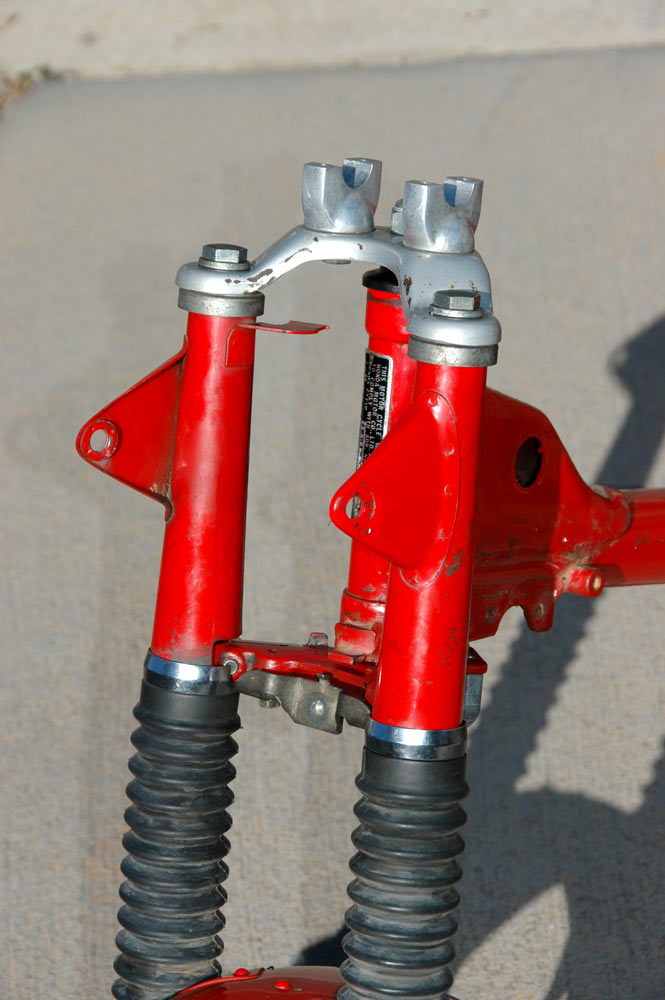
Assembled front suspension, after the rebuild.
The front suspension is now assembled in the frame!