
For this rebuild, I chose the venerable Michelin M45.
The Wenga Postie Bike Project -> The rebuild -> Wheels and tyres
One of the first aims of this project was to use good tyres. You can buy a fair number of tyres to suit a postie bike, but you do have to realise that some are better than others. Knobbies are available for off-road use, plus there are a number of road-oriented tyres. In the end, I went for a trusted name and a tyre I've used before.
For this rebuild, I chose the venerable Michelin M45.
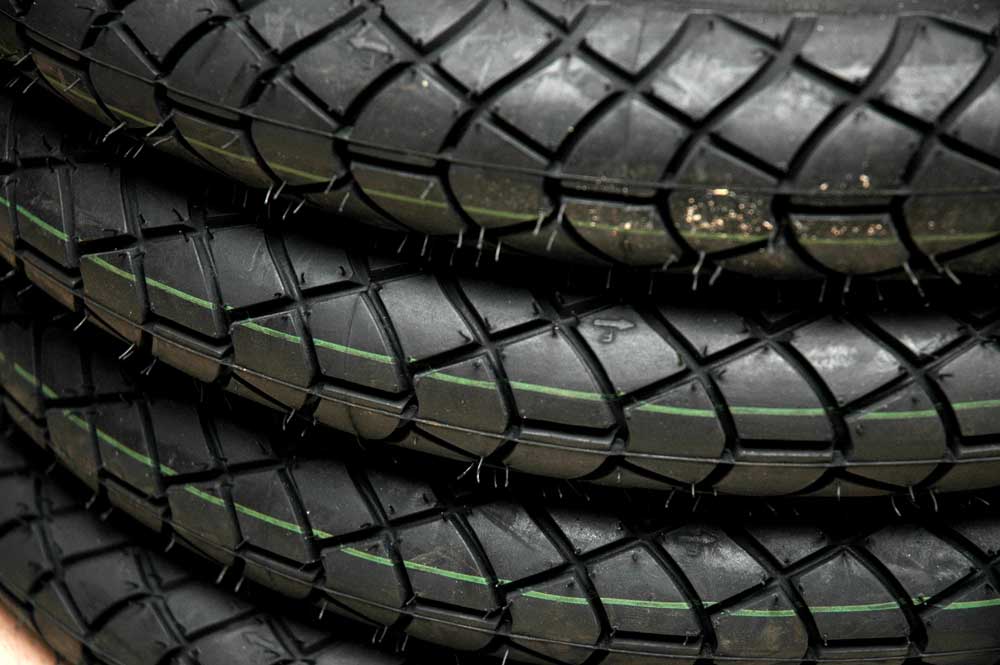
A stack of four Michelin M45s.
We bought the last four at a certain motorcycle tyre establishment in Hobart, cause no-one in Canberra wanted to get any in. I've previously used these tyres on my first road bike, a suzuki GT250, and they were excellent in all conditions on something with around 560% more power than a CT110.
Michelin describe this tyre as:
The 100% city tyre
* Ideally suited to urban use
* Designed to hold the road under a wide range of conditions
If you use your bike mainly for getting around the city, this is your tyre. The Michelin M45 is ready to take on the hazards of the urban jungle: paint stripes, manhole covers, wet cobblestones and the like. Sized for roadsters and customs ranging from 50 to 250cc, the Michelin M45 is your friend in the city.
They're one of the better tyres available in the right size (2.75 - 17). For reference, that's a whopping 70mm of width on the tyre.

Sweet-as! 70mm of width for us to play with.
To put this width into perspective, a modern sportbike of reasonable grip will run around 180mm of width on the rear tyre (and 120 on the front). So, here's a comparison of two M45s, mounted, compared to the 180/55R17 on a 'commuting' modern bike.

Just a small difference between 2 x 70mm and 180mm.
M45s are also crossply tyres (4 or 8 ply, I can never remember and Michelin don't tell me on their website). Because of this, and they run tubes, one has to be wary of the speed limit on the tyres.

Don't think we'll be troubling this with a CT110. My GT250 came a bit closer to it.
Spoked wheels (generally) require you to run tubes. Most people recycle the tubes in their current tyres. Since tubes are about $12 for a good one, and the ones in the rims were of questionable quality, we also grabbed four tubes to suit.

I won't go into too much detail on how the hell you fit a motorcycle tyre like this, there are plenty of other sites available that can tell you this. What I will say is that there are a few things to observe.

I actually mounted this tyre before checking the rotation direction. Fortunately, I had a 50% chance of getting it right and managed to.

The rear tyre, mounted on the rim. Looks lovely.
Straight after mounting the tyres, I always make sure the tyre holds pressure. So far, 4 days in, and there has been no change in pressure either from the front or the back.
You'll notice in the above photo that the wheel rim looks pretty nice and shiny. That's the result of about 5 hours of blood, sweat and tears using a good metal polish. Fairly happy with the result though, because this was a particularly nasty looking wheel. Most of the rust was surface crap on the chrome, so it polished out and the chrome underneath was all nice.
Also in the above photo you can see the cush drive rubbers. These are the bits that stop all the nasty snatching in the driveline due to changes in suspension load etc. Most people never seem to replace these, giving a terrible ride. Not a problem, when your local motorcycle dealership has old stock of a couple, and some mint-from-Honda parts.

The eagled-eyed (or those who click on the image to get the big one) will note that these two packets share a part number. Not bad for 20 years between the parts.
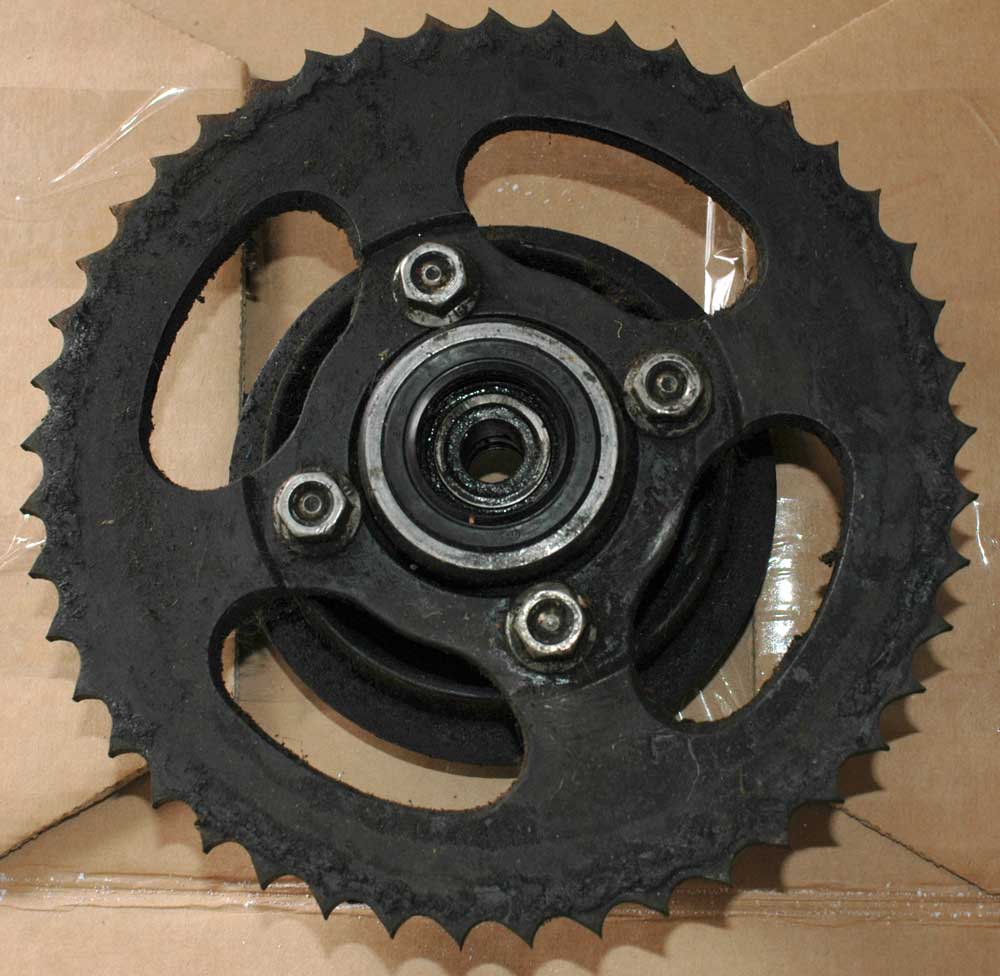
Pretty cool - 20 years separate the new and old parts, although they're both 'new'. There are a couple of different cush-drive rubbers. Most of the rear sprockets we have are the big-knob size (Australia Post spec, apparently) so we bought eight - 3 old and 5 new stock. As a digression, the parts supplier at the dealership suspects that the smaller sprockets are CT90 sprockets, or international CT110 sizes, as Australia Post run toughened rims and sprockets, along with stiffer suspension to cope with the 130kg total payload the postie bike has to carry.
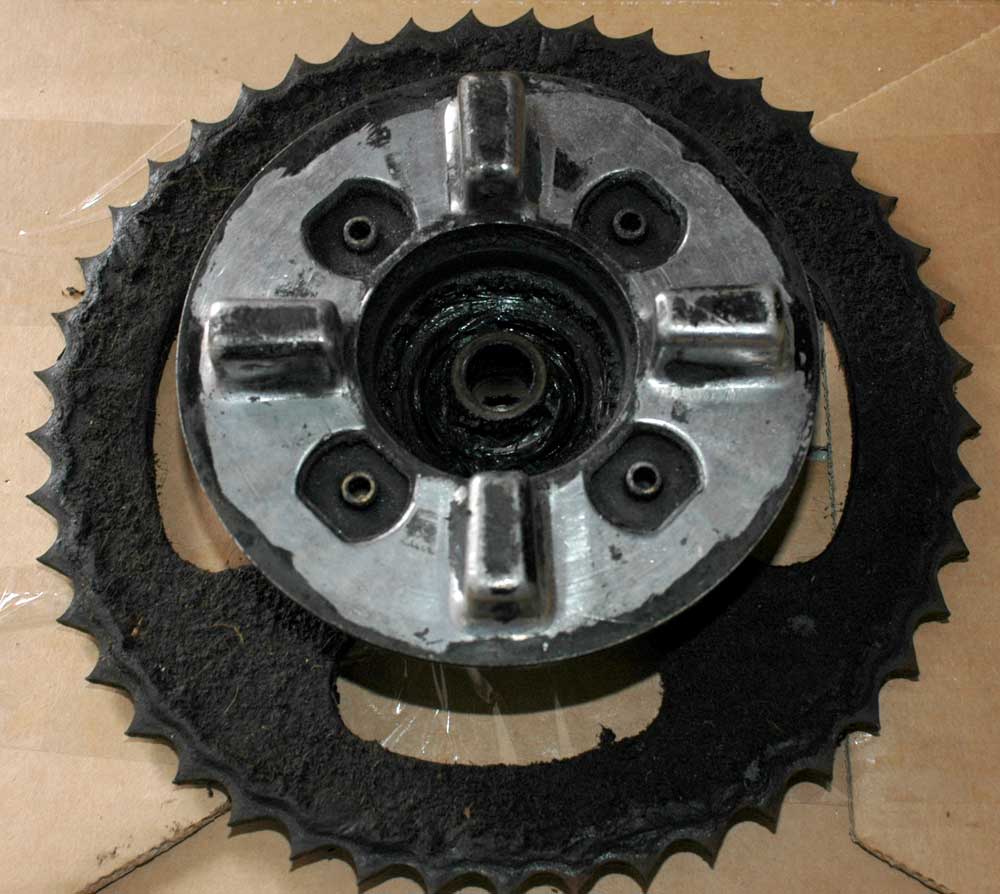
The cush-drive part of the rear sprocket carrier. As you can see, the sprocket is pretty damned worn, so let's have a look at the front to see a textbook-destroyed rear sprocket.
Definately going to be replacing that sprocket before mounting it onto the rear wheel.
Whilst on the rear sprocket - I'm counting it as part of the rear wheel - note that there are lots of different sprocket carriers: some have big knobs and are heavy, some are light with small knobs, and some are light with big knobs. Kinda cool - the difference is about 250g - this is one of the 'heavy' hubs. We're planning on running a lighter carrier that still fits properly in the cush drives.
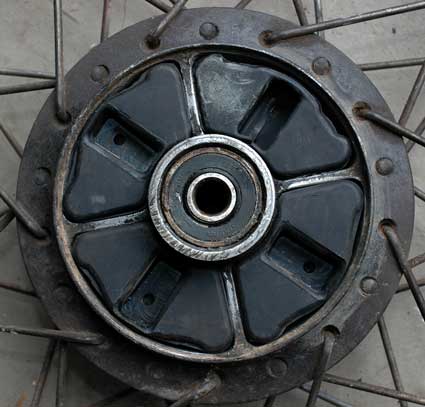
Back to the cush drives. For those who don't know what the wheel recesses for the rubbers looks like, here's one of the spare wheels in its naked glory.

Hub showing the cush-drive rubber recesses.
It's fairly obvious in this photo the shape of the cush-drive rubbers. You can also see the holes - each rubber has a little tail with a barb on it which pokes through this hole. You then pull the other end with a set of pliers and this secures the rubbers in. If you don't pull them right though, they slop around a bit more and wear out faster.
Once you mount the cush drive rubbers it's fairly obvious how much rubber there is to damp jerkiness from the driveline. They get a fair workout on a bike with a worn chain and being a single, the firing of the motor is thumping.
Cush drive rubbers mounted.
The wheel bearings also need to be done, for both the front and back wheels.
Firstly, if you have a front wheel in need of wheel bearings, pop out the seal on the right-hand side.
Once you've done that, take a socket that is the right size to drive the bearings, and use a soft-faced hammer (or be very careful) to move the right-hand bearing a bit. Give it a bit of a tap, it'll push until it hits the middle into the spacer between the two sides, or it bottoms out in the slot. Either is fine.
Take a brass drift, and give the centre part of the bearing a big hit. This'll move the other side bearing a bit, enough you can get a small flat-bladed screwdrier in and flick the spacer out a bit.
Use a pin-punch on the spacer to start to drive out one bearing. Once you get it out, the spacer will also fall out. Use the brass drift to push out the other side.
Now you have a disassembled wheel, ready for new bearings. Place one into the wheel, and tap it slightly to seat it. Aim to keep it all as straight as possible, i.e. tap it fairly evenly.

Here's the front wheel, right-hand side bearing placed in.
Drive it in using a socket to keep it roughly straight.

Front right-hand side bearing, being driven in using an appropriately sized drift.
Once that is in, if you're dealing with the front wheel, put the seal back in.

Right-hand seal for the front wheel.
You'll need to drive in the seal. I use my trusty ghetto seal tool, made from a plastic door-stop. This also fits the front suspension's fork seals.

Using a ghetto seal driver to put the rhs front wheel seal in.
Now the spacer that goes between the two bearings can be put back in.
![]()
See the little metal things that the spacer touches? This is why you need a screwdriver to push it around to get enough room to drive it out. Someone else had already tried to get this spacer out using a screwdriver as a pin-punch, hence there's a small mark on the spacer.
You can now drive in the other side bearing to finish off the wheel.

Driving in the other side wheel bearing.
The wheel is now complete! Repeat on the rear wheel and we're all done.
Note for the rear wheel you might want to consider not having the cush drive rubbers in there. They fell out when I tried to drive the bearings out...